|
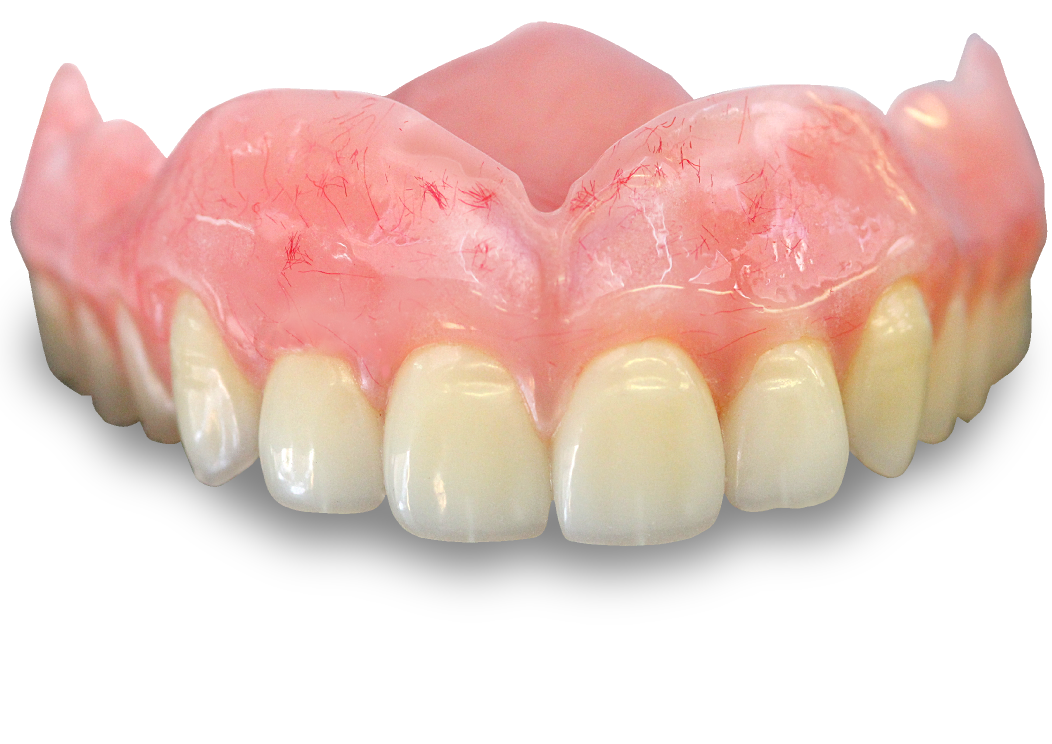
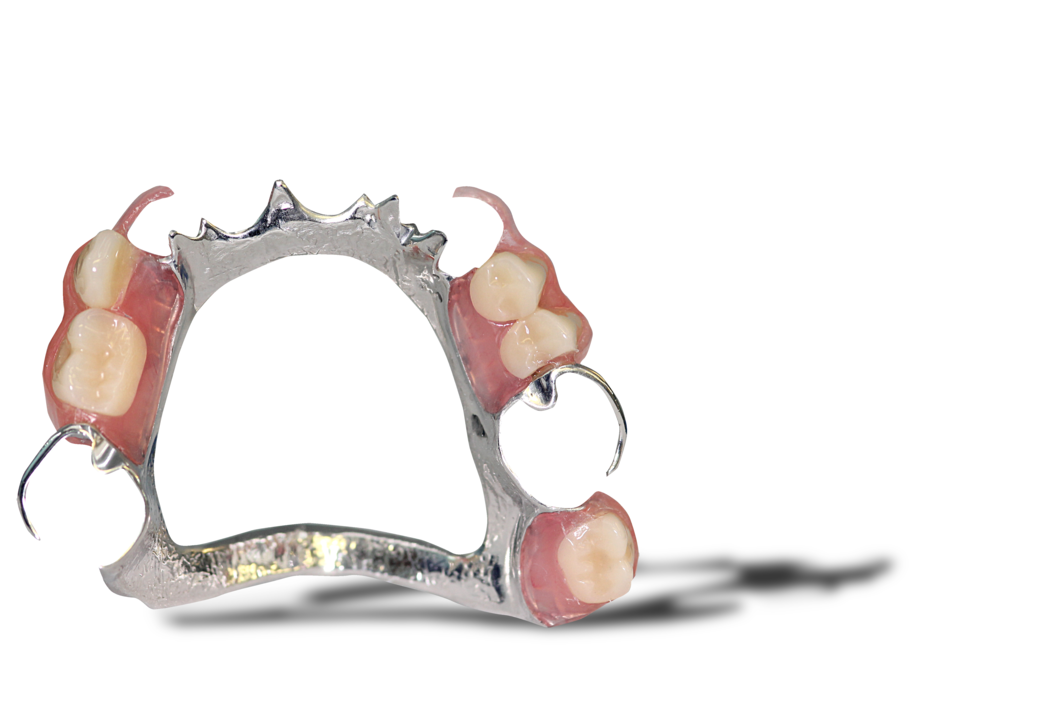
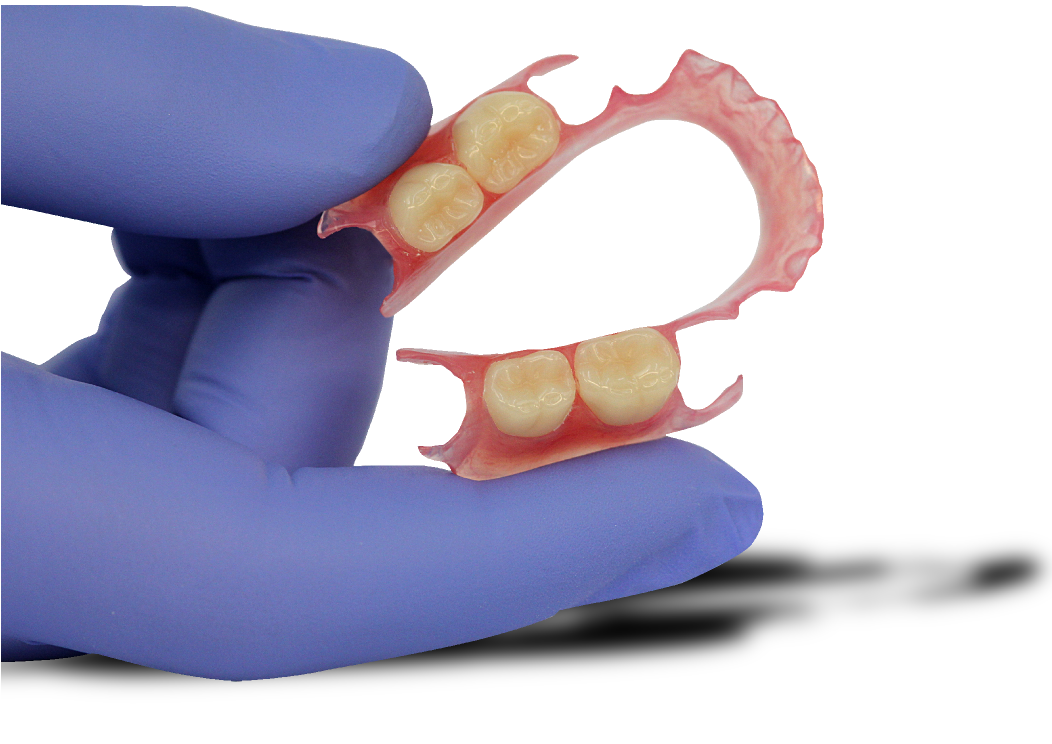
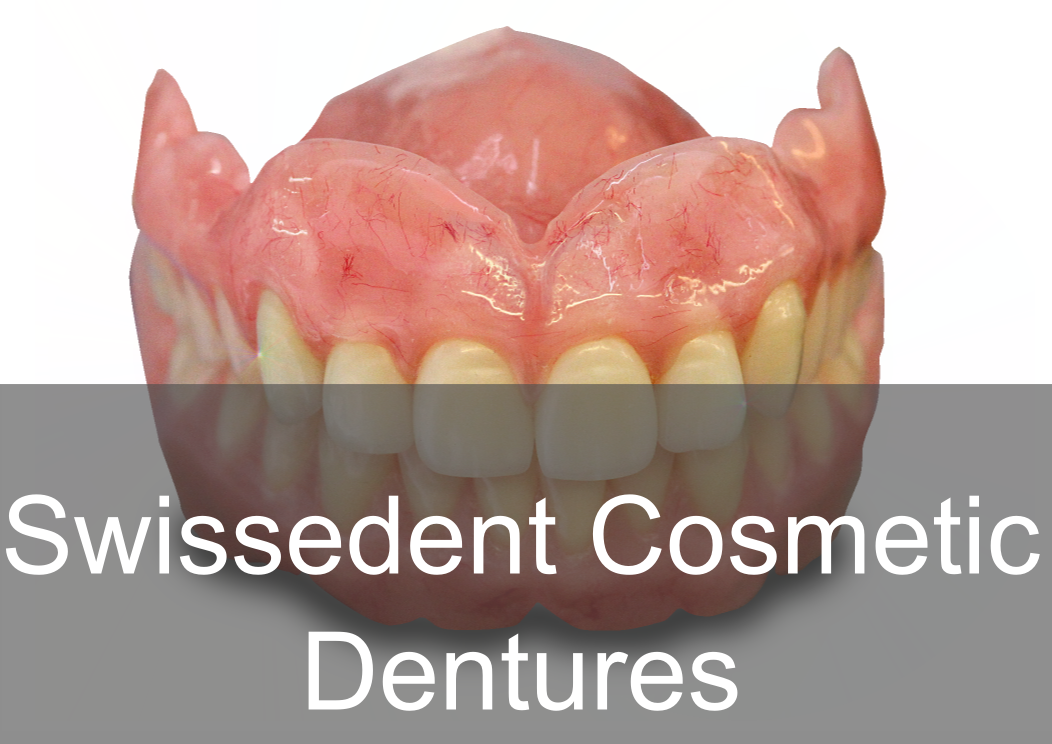
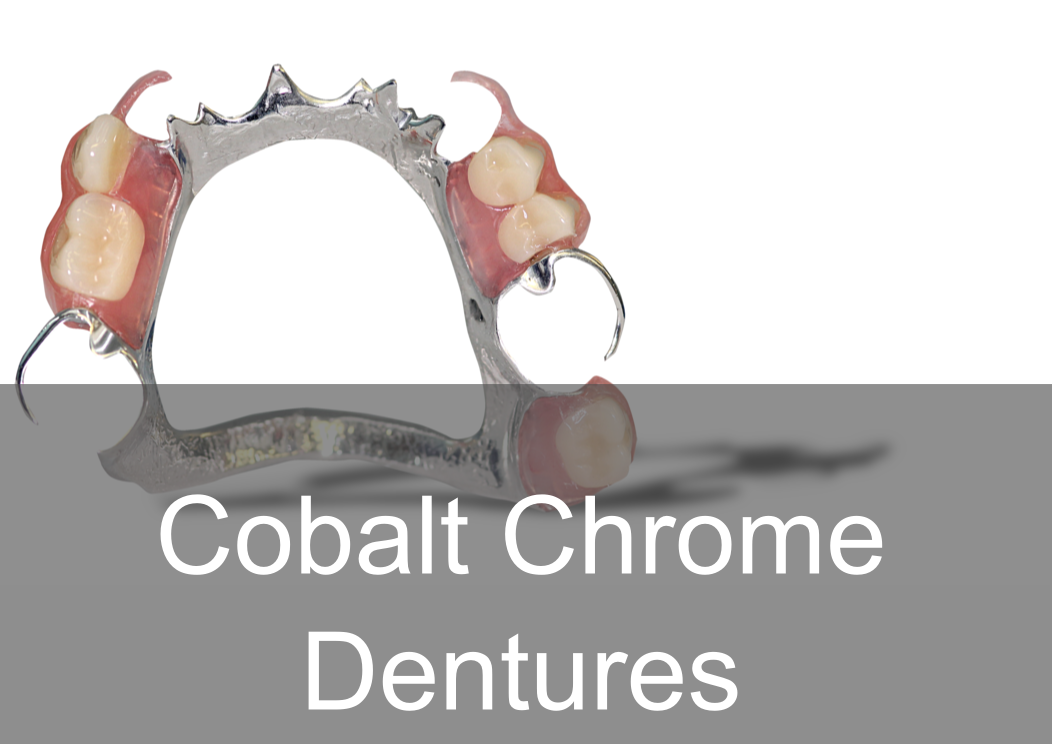
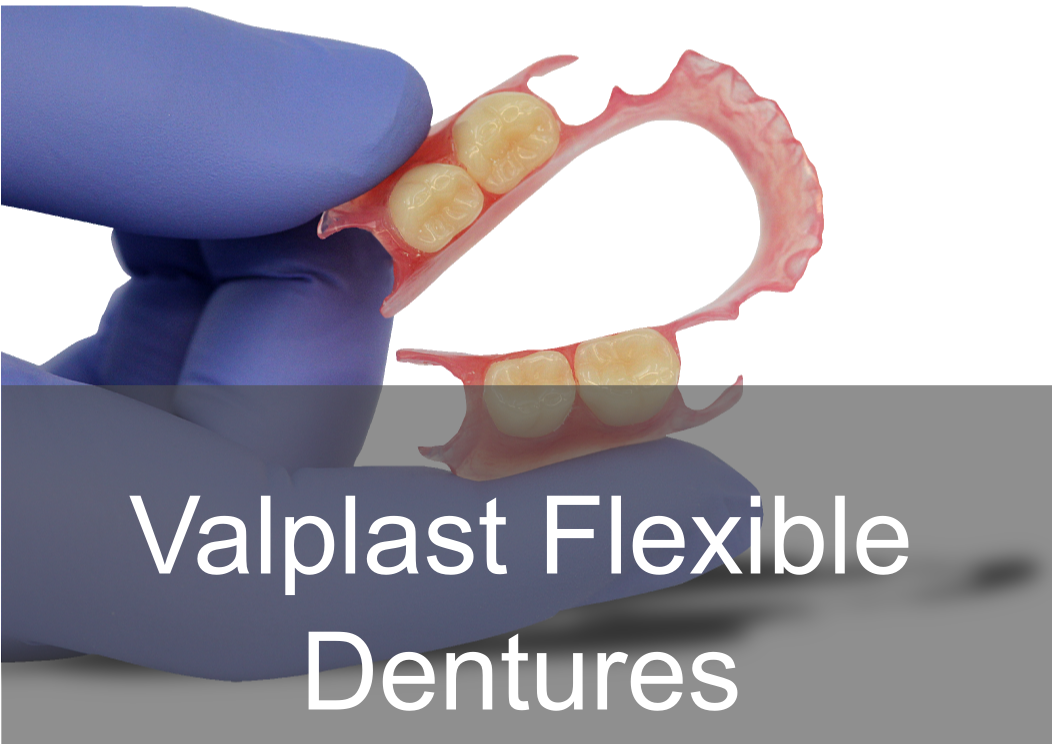
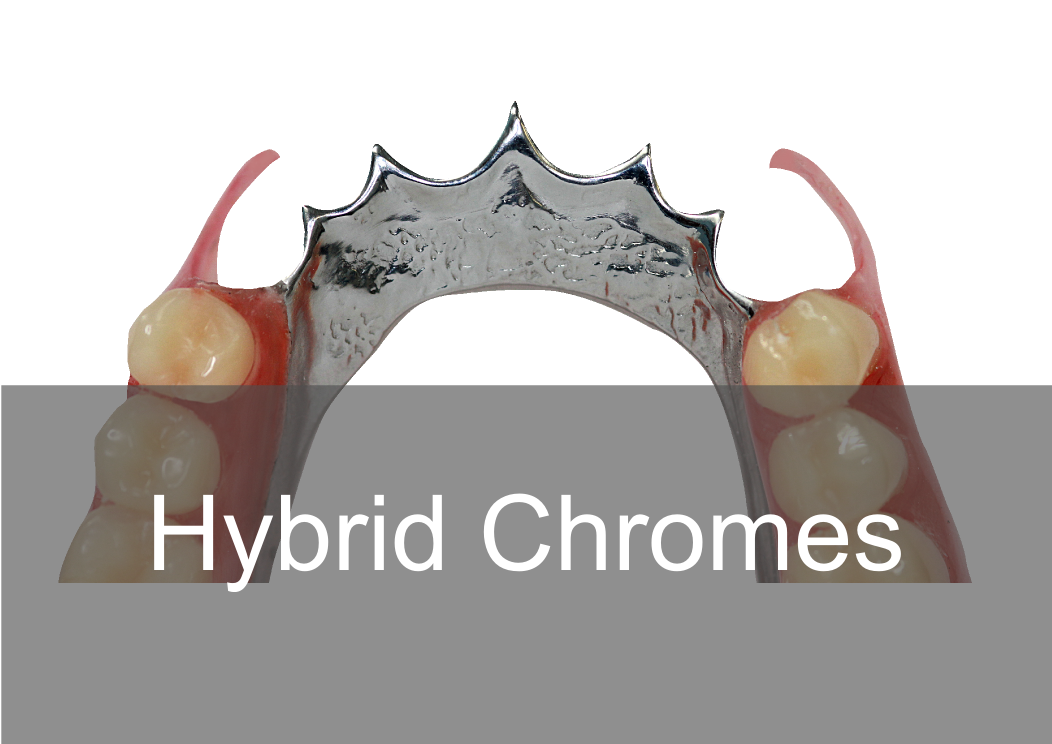
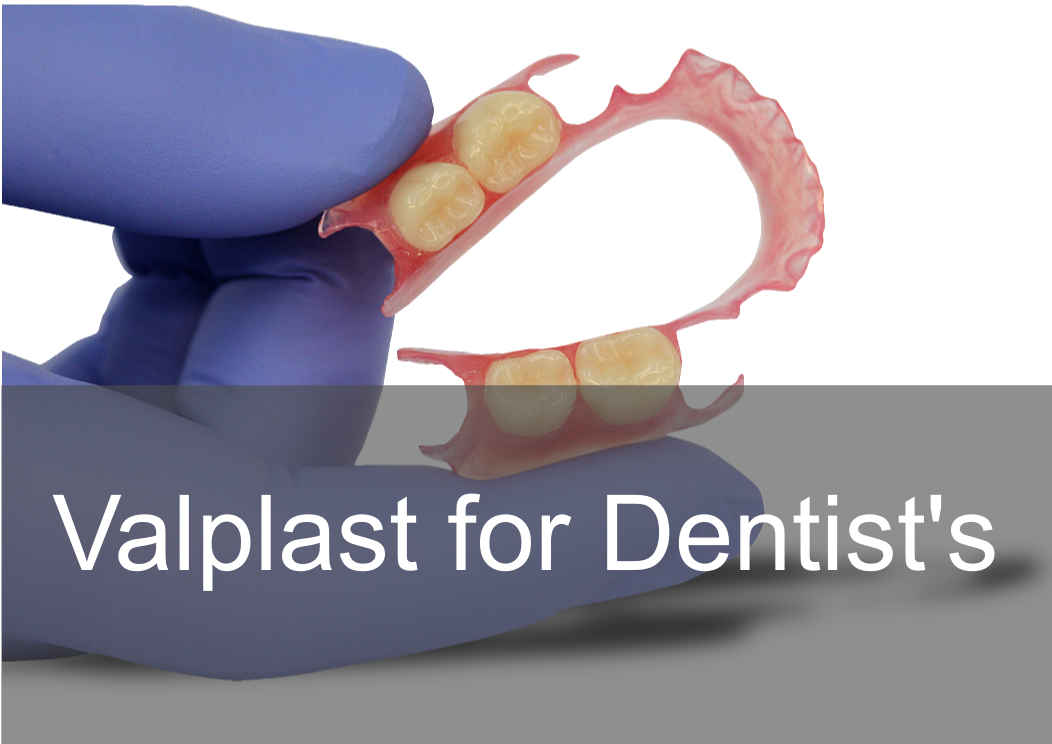
Acrylic, Co/Cr & Valplast RPD Design principles Removable partial dentures assist with mastication (chewing food), help maintain phonetics (speech) and help with aesthetically pleasing to blend in naturally when are teeth missing. They can also help with maintaining oral health and the prevention of over eruption, titling and drifting of adjacent teeth into areas where teeth are missing. They should be designed and constructed to minimise oral damage and is used with a high level of oral hygiene from the patient. The underlying principles of support, retention and stability should be understood whatever type of partial denture is to be made. With any form of dental treatment the main aim is to provide dental treatment than provides function and aesthetics that manages the patients expectations within the limitations. Treatment plan Before any treatment, there are crucial clinical stages that set the foundation of designing a partial denture. Obtaining the patient history which will indicate the parameters of expectations and I/O, E/O examinations that will indicate the limitations. You will then be able to formulate a treatment plan that will manage the patient expectations within the limitations. Within the treatment it’s a good time to find if they are allergic to anything e.g latex, nickel, monomer etc. The natural teeth should be examined, their number, position and occlusal relations noted, and evidence of caries, plaque, periodontal diseases and tooth mobility recorded. The state of the mucosa should be examined and previous dentures inspected in relation to the natural teeth and the patient’s experience. Radiographs of the teeth and supporting tissues may be necessary. Pathological conditions should be investigated and treated appropriately. Extraction of teeth, periodontal treatment or restorative treatment of any kind should be completed prior to partial denture construction. However, it is essential that the provisional design of the dentures is made early in the treatment plan so that the most appropriate restorations are placed in any natural teeth which will act as abutments for the partial denture. When crowns or cast restorations are to used to restore abutment teeth they should be designed to incorporate suitable features for the partial denture (e.g. guide planes, rest seats, milled ledges and suitable undercuts for clasps). Dietary advice and attention to oral hygiene should be given as appropriate. Design principles for RPDS : There are various resources online with information that go into detail on RPD’s. This guide simplifies the design principles with the key components that a dentist and dental laboratory will need to create a successful RPD. After any clinical assessment, primary imps should be taken to assess the design of an RPD: Main stages in design principles of any RPD: Step 1: Patient expectations, parameters, limitations and future proofing Step 2: Surveying and design of RPD within expectations, parameters and limitations Step 4: Mouth preparation, rest seats, guide planes and retentive areas Step 5: Construction of RPD within surveying, design, expectations, parameters and limitation Most common types of removable partial dentures: Acrylic (Plastic) Cobalt Chrome (Co/ Cr, metal with acrylic saddle areas) Valplast Flexible (Nylon flexible material) Minimum thickness RPD’s (mm): Acrylic: between 3 – 4 mm Cobalt chrome: - between 1 – 2mm (can go beyond it’s limitation) Valplast: 1.5mm You can go beyond this minimum thickness within reason, but risk weakening the materials mechanical properties and may cause it to break. How do you choose what material is best for RPD’s ? There are many factors that influence this decision:
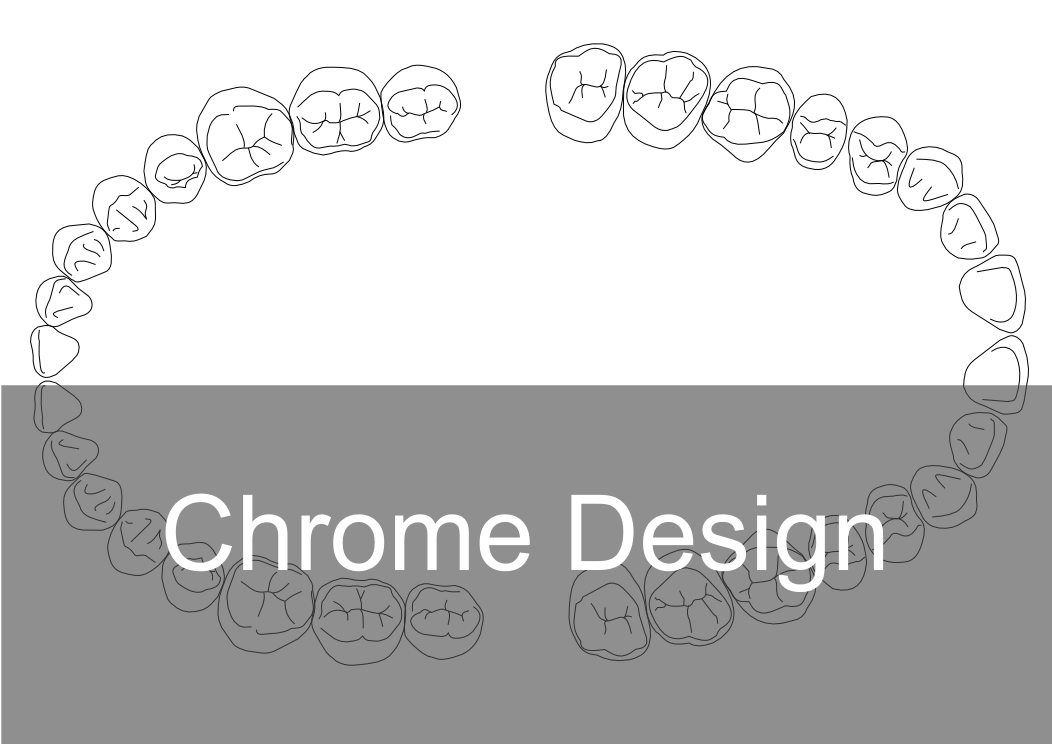
After primary imps stages: After taking the primary impression ask the laboratory to cast study models and design a RPD based on the patient expectation and parameters. When you have study models to hand, it allows you to see everything from all angles and will help with the design process. It allows you to evaluate the occlusion, adjacent teeth, connector design, retention and support areas and surveying a path of insertion. The design will also highlight areas that may need preparation within the mouth e.g there may be no space for a rest seat as the occlusion is too tight as shown on the articulated models. The main areas of preparation in the mouth are rest seats, guide planes and retentive areas. The study model, design on the model and a secondary special tray impression should be sent for the next stages for rpd construction. A secondary impression is required for more accuracy, a primary impression is more a diagnostic tool. Please see below a Co/Cr RPD design sheet to download in.pdf and print and send with your case! 5 Components of any RPD :
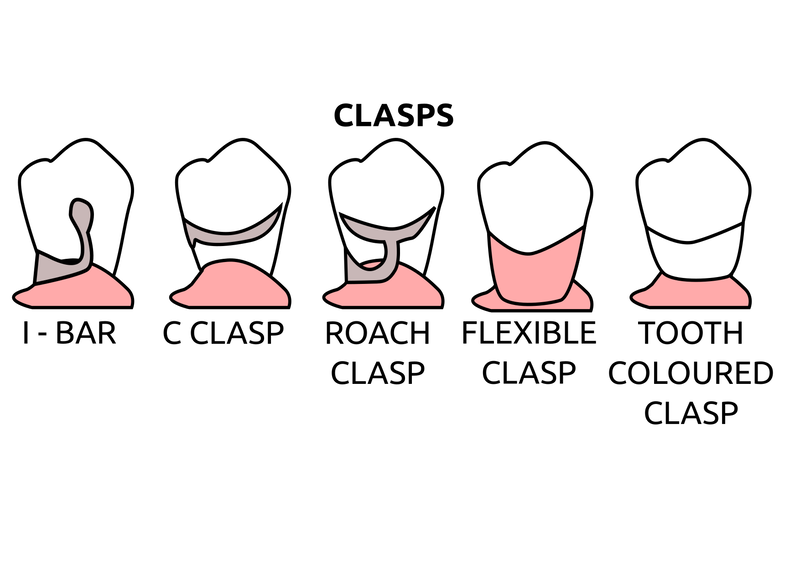
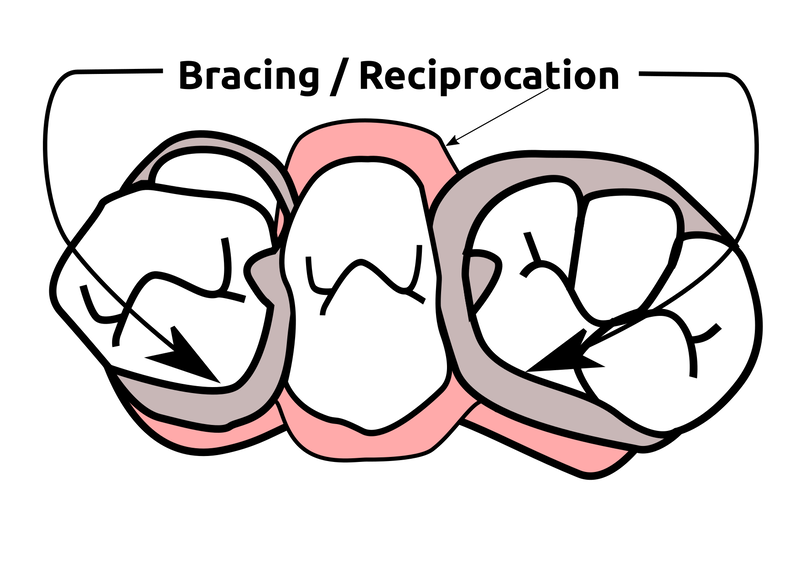
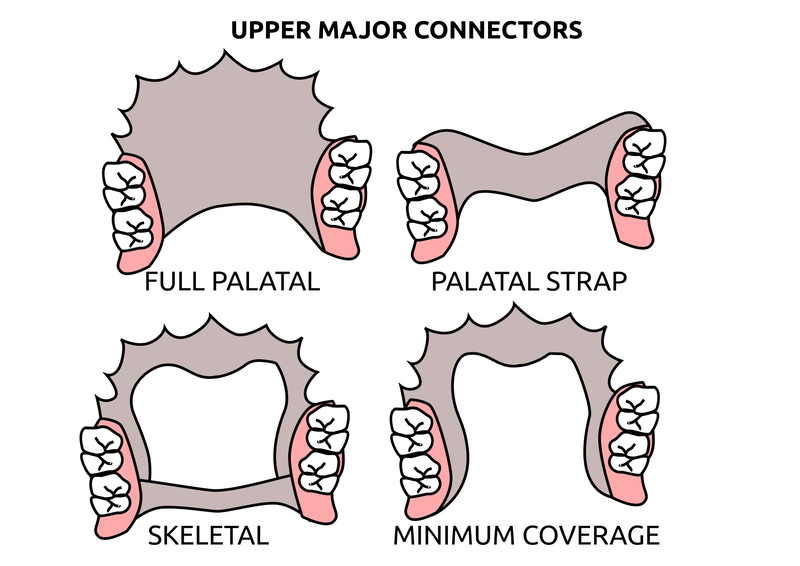
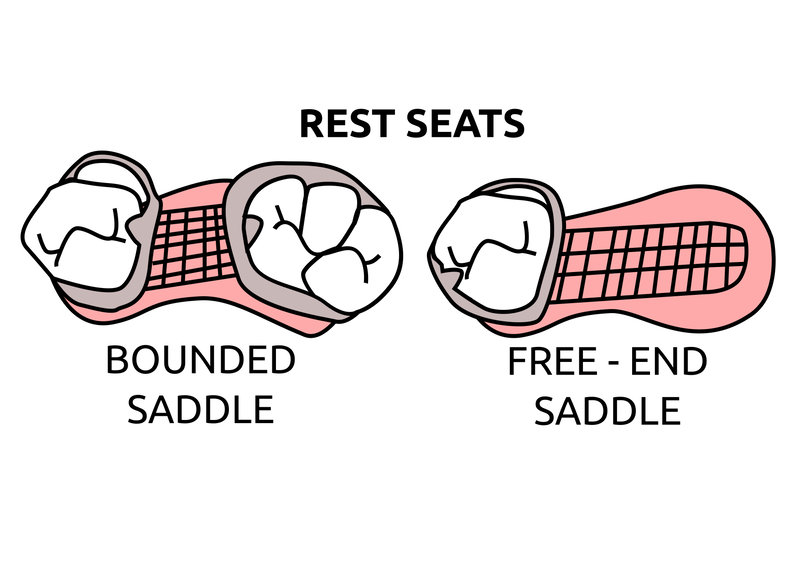
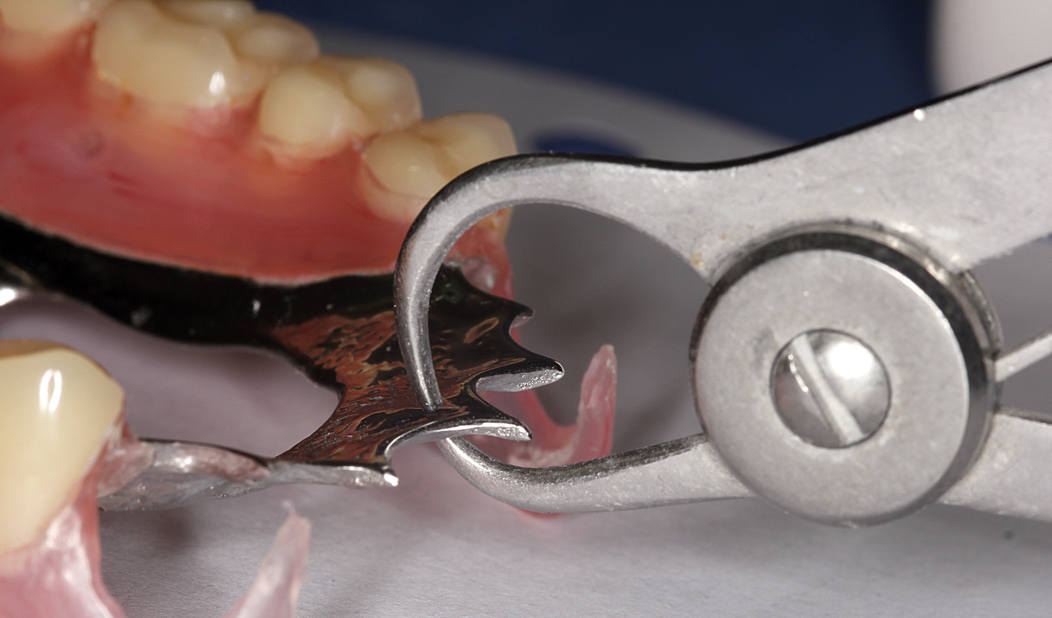
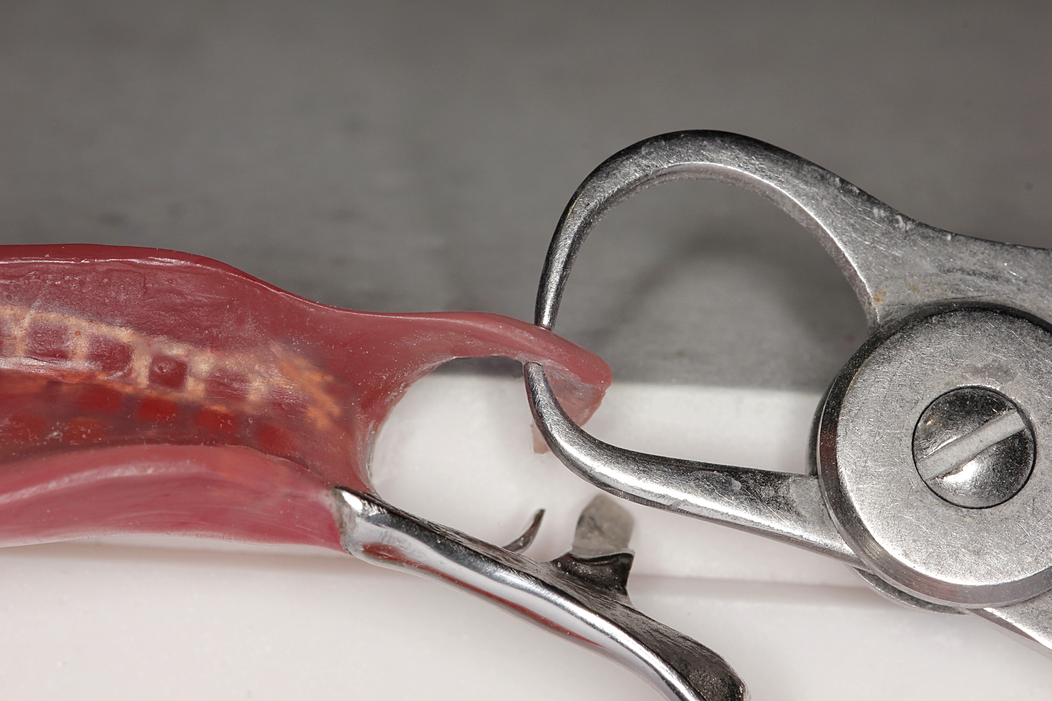
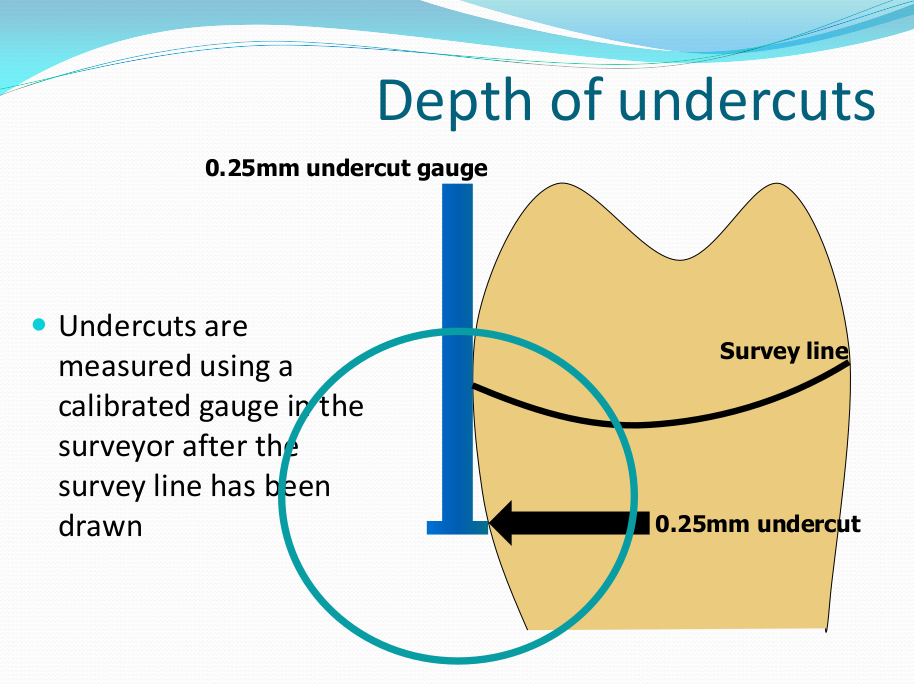
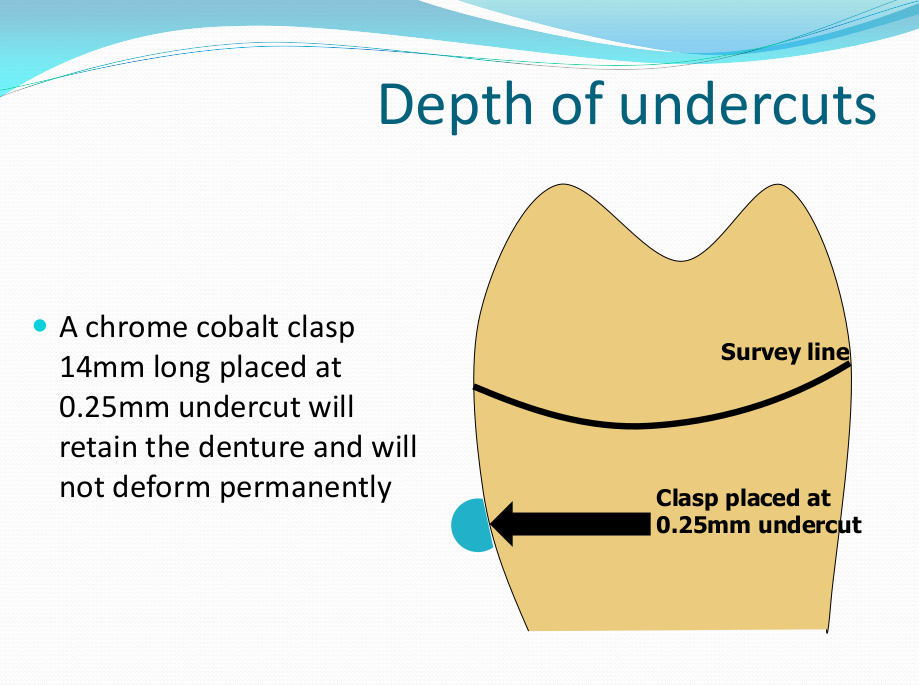
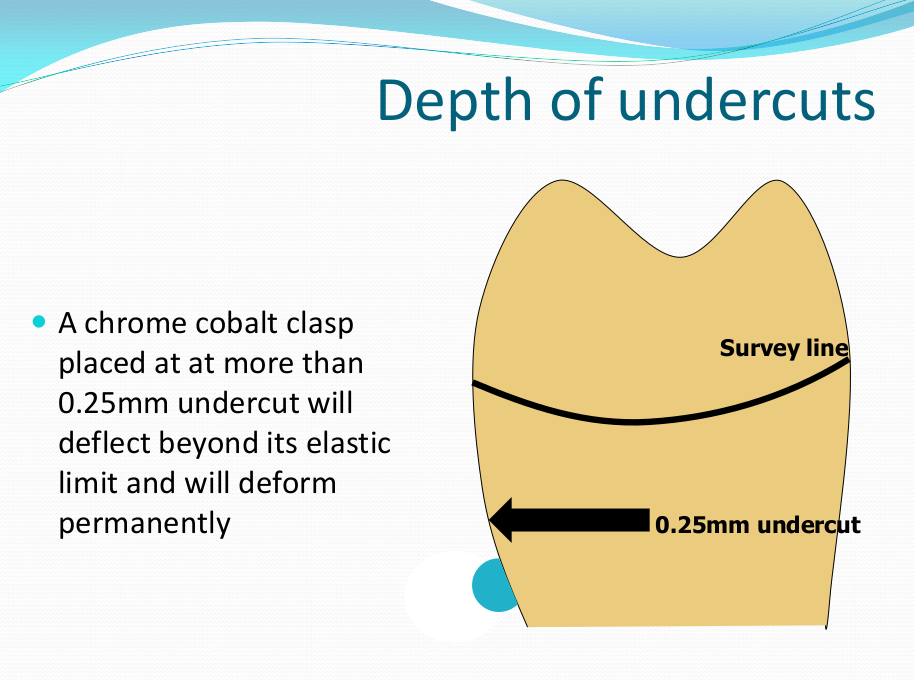
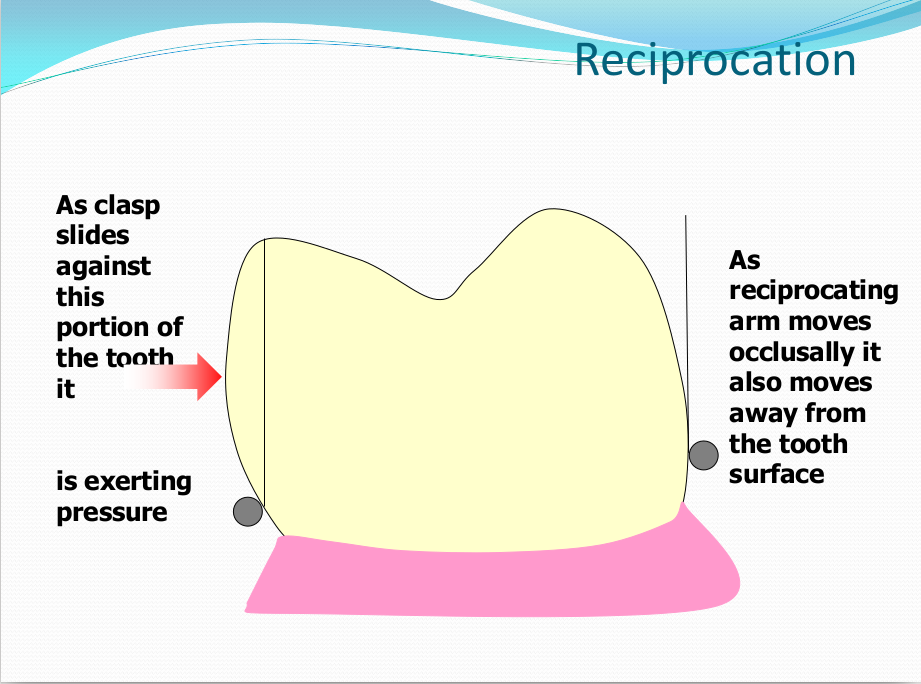
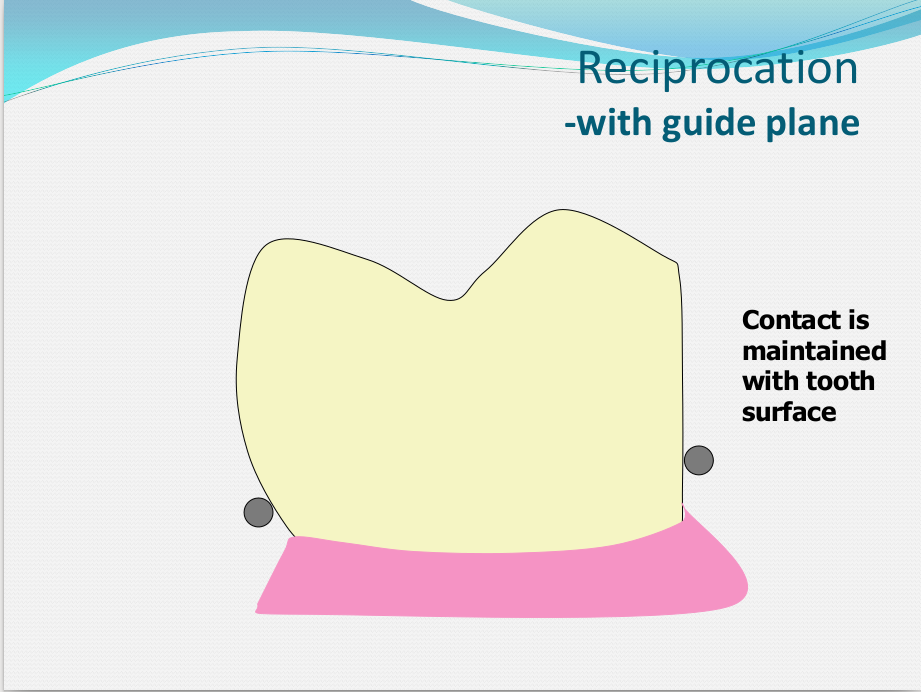
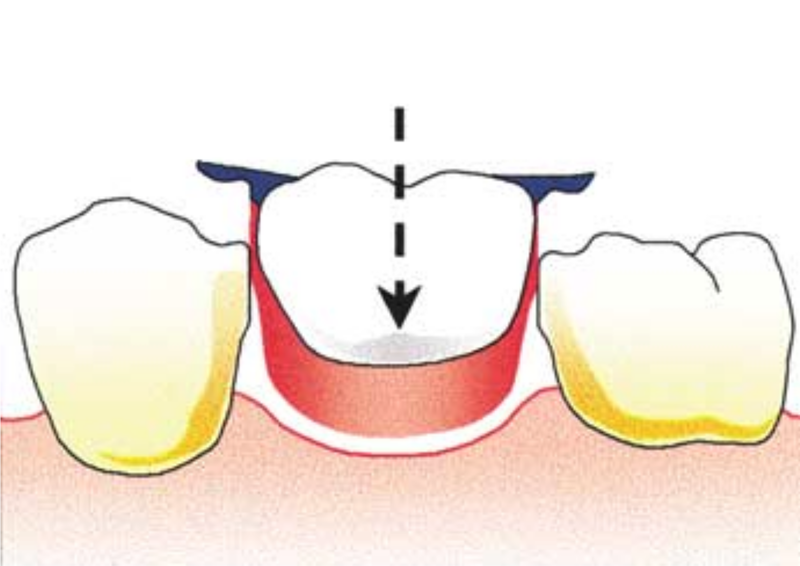
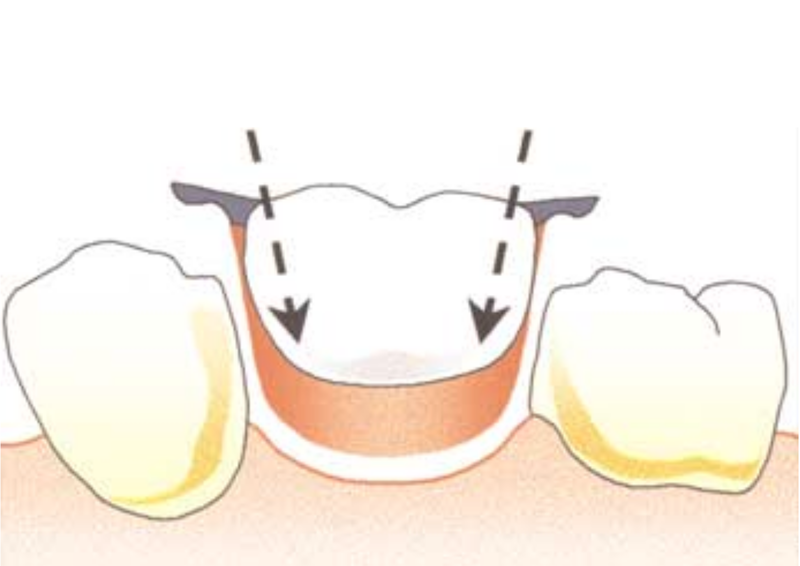
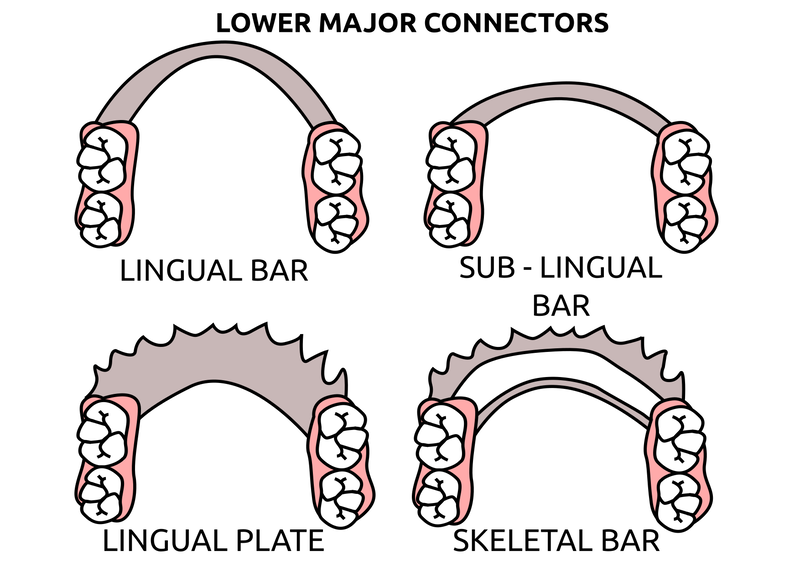
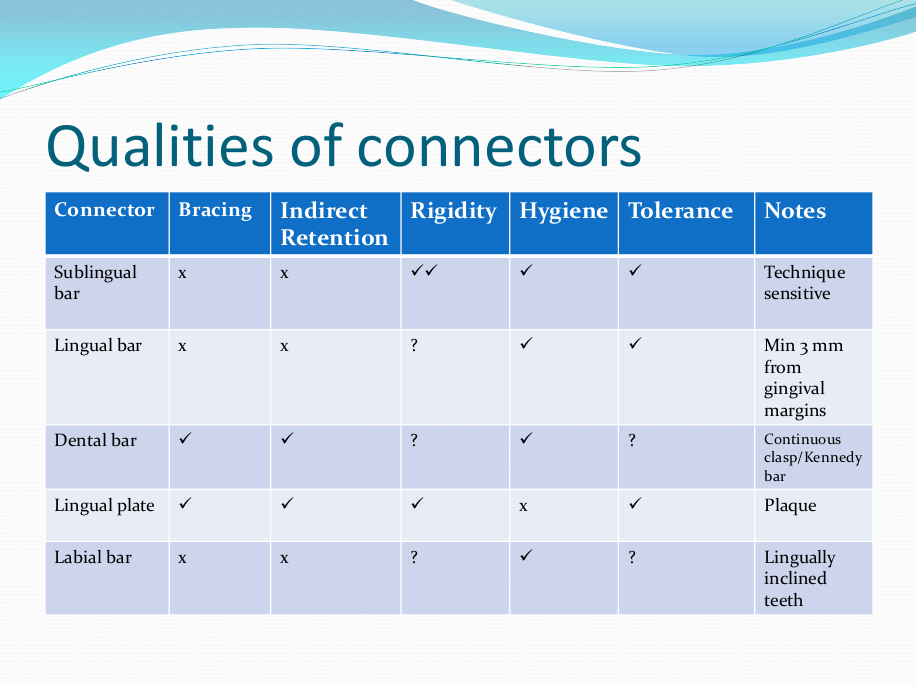
Saddle: The component or components that provide the area of where the teeth are placed and provide the flange extensions in acrylic of an RPD. Support : The function of a component or components to provide resistance to displacement towards the oral tissues on function. Force is transmitted to: Mucosa via palatal areas, saddle areas. Teeth via rest seats, occulsal, cingulum, incsical. Retention: The function of a component or components to provide resistance to displacement away from the oral tissues on function via: Mucosa coverage: Giving aheshion / cohesion NB Muscular effort: Tongue, Cheeks, Lips Clasps – C clasps, roach clasps, I bar Ideal clasps: For clasps to be effective, the tips of the clasps must be engaged into an undercut with an ideal depth of undercut at 0.25mm. For a chrome clasp the ideal minimum length is 14mm For a wrought stainless steel clasp a minimum of 7mm. Studies have shown anything below the minimum length are subjected to deformation and became non retentive. If a clasp is placed at more than 0.25mm of an undercut it will deflect beyond it’s elastic limit and will deform permanently. Depth of undercuts Deep undercut do provide more retention but co/cr clasps that engaged into a deeper undercut have to be more flexible to prevent permanent deformation. Stainless steel wrought clasps are more flexible and is favoured in this situation. If there is undercuts, e.g due to short teeth or conical teeth, it’s possible to create an undercut by the use of composite bonded or trim the teeth to create an undercut. Indirect Retention Rest seats on the RPI system on a free end saddle will have the rest seat on the mesial aspect of the tooth. On a bounded saddle it’s common to place the rest seat next to the saddle area. A study has shown retainer designs with distal rest seats tend to move the clinical crown distally and the root mesially at the apex, resulting in horizontal forces in the bone. By placing rest seats more anteriorly provides an axis of rotation that directs applied forces in a more vertical direction. What is the RPI system in Co/Cr ? It’s short for rest, plate and I bar clasp. The rest seat is placed on the mesial aspect of the tooth with an I bar clasp placed on the tooth and retention mesh for acrylic. Bracing and reciprocation The function of a component or components to provide resistance to lateral displacement during function via extension of flanges into the full depth of the sulcus and the reciprocal arms and non retentive components of clasps. What are guide planes? They are prepped areas on teeth adjacent to an edentoulous area and assist with bracing and reciprocation and path of insertion. Path of insertion: This is obtained by placing the models onto a surveyor and assessing an ideal path of insertion and displacement whilst highlighting the ideal depth of undercuts for retention. This is a vital tool and uses a graphite rod and various tools to block out and keep undercuts for a path of insertion. There are many types of paths of insertion for RPDS, we have three main categories, single, multiple and rotational which is determined by the tooth undercuts, infrabulge & suprabulge, guide planes, tissues and anatomy. Connector The connector design is based on many factors from patient expectations and preference, parameters, limitations and future proofing. Wherever possible, connectors in chrome’s should be placed at least 3mm away from the gingival margins and should be designed with hygiene and the least amount of risk to adjacent teeth in mind. The most common types of connectors are bar and plate. Bar – Feel bulky but are kind to the mucosa. Plate – Covers more of the mucosa palatally and lingually and is less noticeable to the patient Please see below our information on our laboratory services for reemovable prosthetics : Also see guides on:
0 Comments
Your comment will be posted after it is approved.
Leave a Reply. |
Private Dental Laboratory in London
 Kash Qureshi - Managing Director, Clinical Dental Technician Kash Qureshi - Managing Director, Clinical Dental Technician
About the author:
Kash Qureshi is a Clinical Dental Technician (Denturist) in the U.K who oversees and quality controls over 3000+ fixed and removable prosthesis including implant cases from a clinical and technical aspect monthly at Bremadent Dental Laboratory & Swissedent Denture Clinic in London. www.swissedent.co.uk www.bremadent.co.uk [email protected] Categories
All
Archives
May 2024
|



 RSS Feed