|
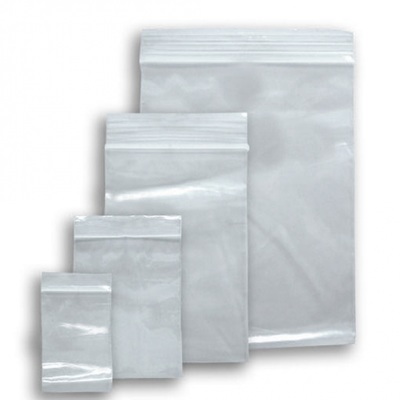
Every Dental Technician knows how to mix acrylic and every Dental Technician will know the issues that can go with it. This technique will create consistent results everytime. Step 1 - Preparation Measure acrylic powder to monomer ratios, use this table below if you are unsure on what measurements to use, the easiest way is (if in doubt) 3210 e.g the best Nokia phone ever made, 32cc of powder to 10 ml of monomer per denture or 2:1 ratio if you do not have instructions. Place measured powder into a cup and measured monomer into a separate glass cup. Get a normal poly grip bag or a bigger sized poly grip bag if you are mixing for more than 7 dentures.
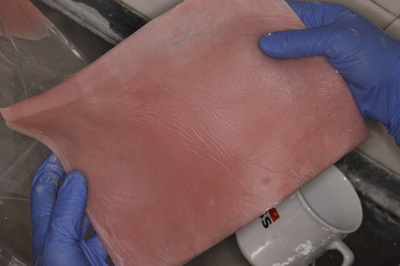
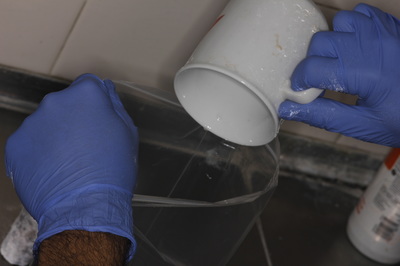
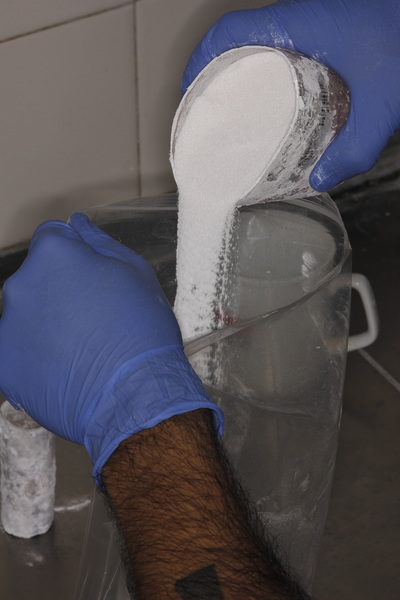
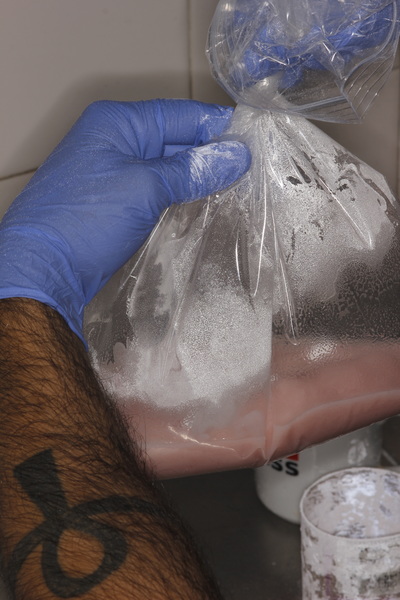
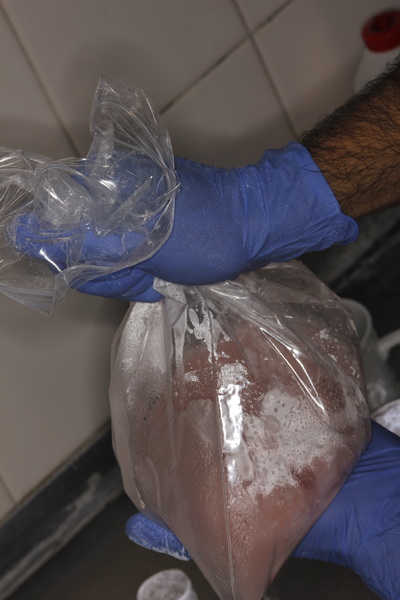
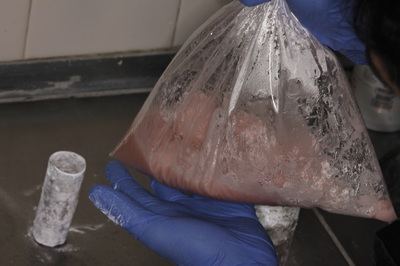
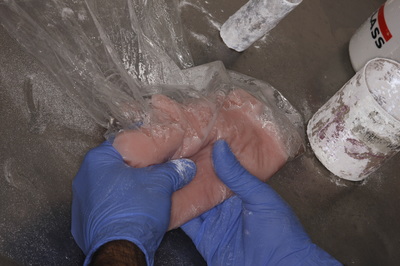
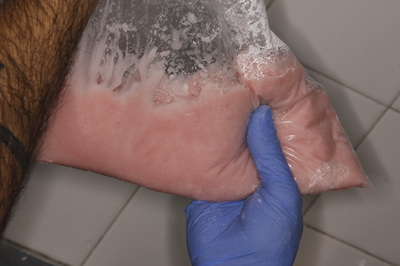
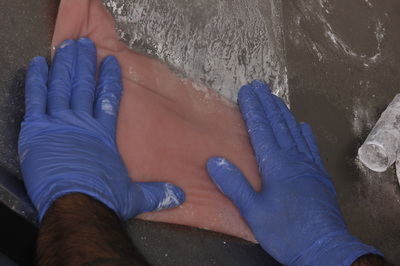
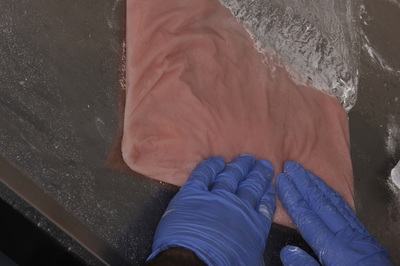
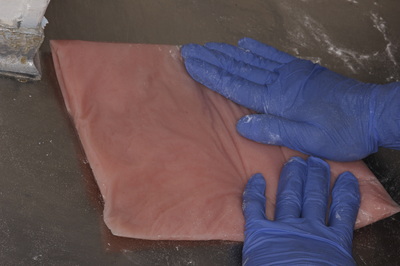
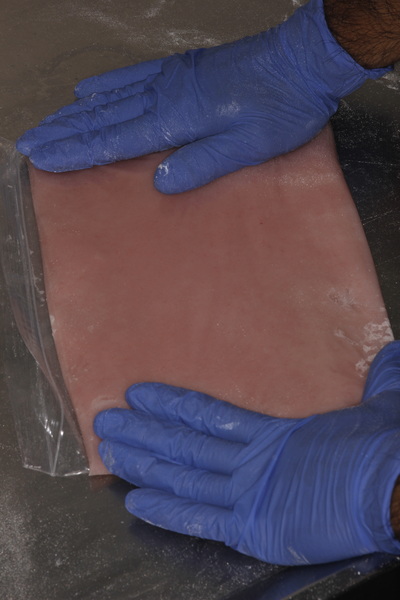
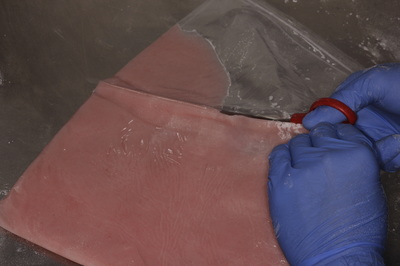
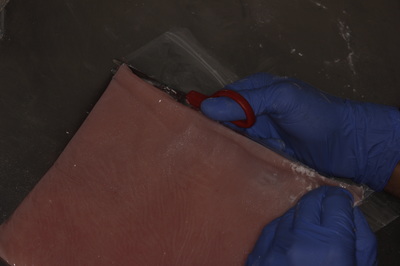
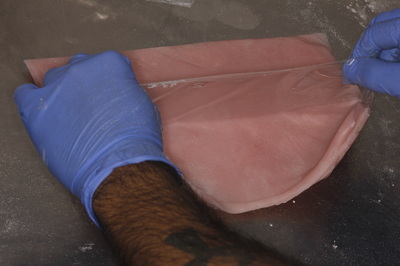
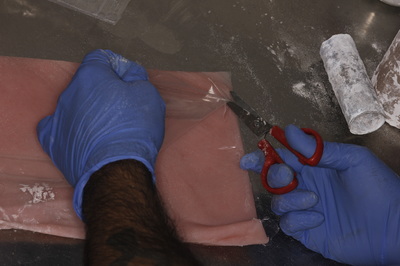
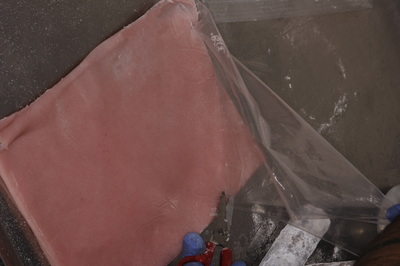
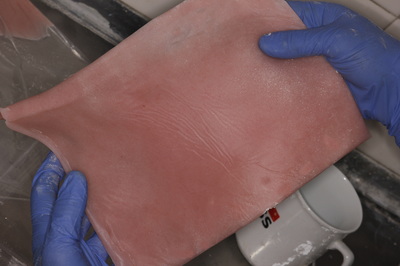
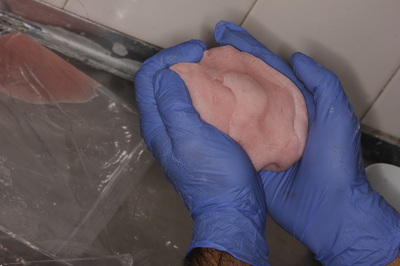
Step 2 – Add Monomer Add monomer into the open bag, make sure the monomer goes straight to the bottom without going onto the sides of the bag. Step 3 – Add Acrylic Powder Add the powder directly into the bag with the monomer, now close the bag by twisting the bag half way, this creates a chamber with air. Now shake, tap, move the bag upside downs and to the side for at least 15 – 20 seconds. This makes sure all of the monomer is soaked into powder together. ThStep 4 – Mix The Acrylic Knead the mix together inside the bag and squash the mix. It reminds me of slush puppy at this stage, by the time you have gone from one side to the other you will see a change in the mix. This is done for 20 – 30 seconds. This makes sure all of the monomer and acrylic is thoroughly mixed together. Then after 1 - 3 minutes it will be in a soft doughy state. Step 5 – Prepare the acrylic Place the bag on a clean flat surface and roll our the acrylic with your hands from the bottom to the top of bag in upwards motion, do this until there is a uniform thickness in the bag (1-2 mm in thickness throughout), once done fold the end of the bag the other way round to seal the chamber or mixed acrylic. Step 6– Acrylic for packing It will usually take about 4 – 5 minutes dependending on your material used, check your manufactures instructions. One tip to know when the acrylic is ready, it will come away from the bag without sticking to the sides. Now with a clean pair of scissors cut the excess part of the bag where the chamber was created away as this will usually be dry and full of crusts or tear the bag from the edges. Now cut the bag open the acrylic should come out like a very thin book. Mix all of the acrylic together into a ball by hand and you have your mix ready to pack. I have tested over 300 dentures myself with this technique and I have taught my team to do this with all the dentures. I've had only two breakages in the first batch of 50 with this technique which was due to me not mixing all of the acrylic together at the end into a ball. This works well with trial packing, clear acrylic and high impact. Tips: When you are preforming steps 4 and 5 you will encounter the risk of the acrylic breaking the bag at the bottom and coming out which tends to happen if you mix for more than 7 dentures in a normal sized poly grip bag as the pressure can split the bag open. Thanks to Paul Gerrard and WHW plastics for showing me this technique. ALSO CHECK OUT: The History of Dentures | From 700 BCE to 2015 | What is the future of Dentures | Every Dental Professional should know this History. Youtube Video on mixing acrylic in a bag from WHW plastics Bremadent Premier | London | Dental Laboratory | Full Service
0208 50 8528 | [email protected] | www.bremadent.co.uk | Like us on Facebook | Review us on Google
0 Comments
Your comment will be posted after it is approved.
Leave a Reply. |
Private Dental Laboratory in London
 Kash Qureshi - Managing Director, Clinical Dental Technician Kash Qureshi - Managing Director, Clinical Dental Technician
About the author:
Kash Qureshi is a Clinical Dental Technician (Denturist) in the U.K who oversees and quality controls over 3000+ fixed and removable prosthesis including implant cases from a clinical and technical aspect monthly at Bremadent Dental Laboratory & Swissedent Denture Clinic in London. www.swissedent.co.uk www.bremadent.co.uk [email protected] Categories
All
Archives
May 2024
|


 RSS Feed