Call our Dental Laboratory on : 0208 520 8528
Dental Laboratory in London UK: Bremadent Dental Laboratory
  • Home
  • About Us
    • Our Laboratory
    • Our Management Team
    • Our Clinic
    • Case Studies
    • Newsletter
    • Press
    • Policies >
      • Terms of Use
      • Privacy Policy
      • Cross Infection Control
      • Complaints Handling
      • Terms & Conditions
  • Our Services
    • Price List
    • Complex / Combination
    • Denture Repairs
    • Digital >
      • CAD-CAM
      • Digital Impressions
      • Digital Study Models
      • Digital Crown & Bridge
      • Digital Implantology
      • Digital Prosthetics
    • Crown & Bridge >
      • All Ceramic >
        • Cercon (Layered Zirconia)
        • Full Zirconia
        • IPS e.max
        • IPS e.max App
      • Composite
      • Twiny Hybrid Composite
      • Full Metal Crowns
      • Porcelain Bonded
      • Shade Matching
      • Smile Make Overs & Diagnostic Wax Ups
    • Implantology >
      • Immediate Implant Loading
      • Implant Crown & Bridge
      • Implant Prosthetics
      • Implant Milled Bars
    • Prosthetics (Dentures) >
      • Cobalt Chrome (CoCr)
      • Hybrid Chromes
      • Swissedent Cosmetic Dentures
      • Valplast Flexible Dentures
      • Fiber Force
    • Pressure Formed >
      • Anti - Snoring Devices
      • Gum Shields
      • Night / Mouth Guards
      • Whitening Trays
    • Orthodontics >
      • Essix Retainers
      • Michigan / Tanner Splints
      • Kois Deprogrammer
    • Clinical Guides
    • Downloads
    • Go Green Scheme
    • Working Times & Deliveries
  • News
  • Employment
  • App
  • Contact Us

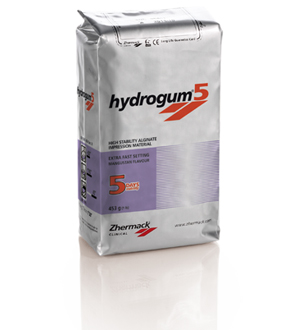
How to take accurate, detailed and consistent alginate impressions ?|Mixing alginate for Dental Professionals | Hydrogum 5 Instructions | 

8/1/2015

0 Comments

 
We always get how to guides on how to take impressions but we forget the steps before this that can dramatically change the quality, consistency and accuracy of our alginate impressions which is the preparation, mixing and loading.
If you do not mix materials with the recommended powder and water ratiosyou will alter the materials properties, simple as that. How many of you get a Dental Nurse to mix your alginate? How many of you rush to get the impression taken because it is setting in the tray? Sound familiar.

There is the taking the impression part which is an art form in it self with implications of everything else that goes with it. You do not want to make  life more difficult knowing that your great detailed impression taken is now great to look at but dimensionally unstable due to the properties within the material altered.

Example :
Dentist: Patient is a gagger, edentulous, impression taken with all anatomical landmarks, border moulding, all vestibule areas are very nicely detailed within the impression, "I am happy with the result and believe that I will get a really nice denture to fit".

Lab: Great impression, dentist has taken accurate impressions, models casts with all areas maintained, all denture stages followed, dentures finished, "great, off you go to get fitted".

Dentist: "F/F does not fit, please remake". (The dreaded words for Dentist & Technicians)

As you can see from the example it shows one person is missing, where is the person who mixed the impression material which is the most important job, more important than taking the impression as they are creating the material for you to take the impression. I always have all of my models, denture acrylics etc mixed to manufactures water and powder ratios this way I know it is done correctly and if it is not correct its a manufactures error as i am accurately following guidelines.

Its similar to someone making a chicken sandwich but then giving you something that looks like chicken and tastes like chicken but it sure is not chicken.

(PS. This is not a guide to blame some one else for impressions not coming out the way you would like or the reason why your prosthesis is not fitting, there is a multitude of reasons. )


Mixing Alginate Procedure for Dental Professionals
Preparation
  • Spray adhesive inside of the tray and on the outside.
  • Check size of the tray and determine how many scoops of powder is needed:
  • Small – 2 scoops.
  • Medium sized – 3 scoops.
  • Large – 4 scoops.
  • Use scoop to obtain powder & scrape excess off with a spatula into the container without compacting or pushing the powder down into the scoop.
  • Place all scooped powder in bowl, with your spatula make a separation line between the powder, which creates an empty channel with alginate powder on each side for the water to flow in-between and soak the powder. (By creating a channel, that allows you to soak all of powder from the inwards to the outward surface, rather than water sitting on top)
  • Fill measuring cup exactly to the ratio of powder scoops (use measuring cup supplied) place water into the hole of the alginate.
Mixing the alginate (Mixing time is 30 seconds)
  • (5 seconds) Slowly mix the powder and liquid make sure all powder is wet and soaked. Turn the bowl with your stationary hand, mix with your working hand, hold bowl towards stomach to stabilise the bowl.
  • (10 seconds) Hold the bowl away from you, turn with stationary hand and squeeze alginate clockwise against the sides of the bowl with a spatula in your working hand. Place the edge of the underneath of the bowl on the table to stabilise. (This releases air out and you should air popping sounds)
  • (5 seconds) Scoop all alginate together as if you are going to load the tray and place it on the side of the bowl & push towards you to get rid of excess air.

Loading the tray (Working time Is 1 min 05 seconds)
  • Take a little bit at a of material at a time, load the anterior section from the middle of the tray to the labial side and then turn the tray around and load alginate from middle backwards to the posterior. ( You are pushing the air out of the tray by loading it this way).
  • More alginate placed anteriorly, sloping down posteriorly. ( A personal preference, ask your clinician what he prefers, I do this to stop air bubbles forming labially and yes it works)
  • Turn the tap on (not running to fast) place fingers under the running water and place wet fingers to drip water over the top of the impression and slightly pat down and compress onto the impression material. (allows easier flow ability of the material and acts as a surface tension glaze on adjacent teeth to stop air bubbles)
  • Setting time in mouth usually about 45 seconds to 1 min and 50 seconds. (Check manufactures instruction)
  • After setting and removal from the mouth, place directly under water and rinse.
  • Disinfect impression, do not leave longer than the recommend time as this can distort the material. (Usually 10 mins)
  • Rinse impressions under the tap and place into a bag, do not compress or place into a tight bag. Label disinfected.
  • Wait for material to set inside bowl and with a wet wipe, wipe down the bowl, spatula and any other instrument used.
Bremadent Premier | London | Dental Laboratory | Full Service
0208 50 8528 | office@bremadent.co.uk | www.bremadent.co.uk | Like us on Facebook | Review us on Google
0 Comments


Leave a Reply.

    Private Dental Laboratory in London

    Bremadent Dental Laboratory

    Picture
    "We respect Dentistry, Dental Technology and Science which makes us stand out from our competition"
    Clinical Dental Technician Kash Qureshi - Bremadent Dental Laboratory & Swissedent Denture ClinicKash Qureshi Clinical Dental Technician - Bremadent Dental Laboratory & Swissedent Denture Clinic
    About the author:
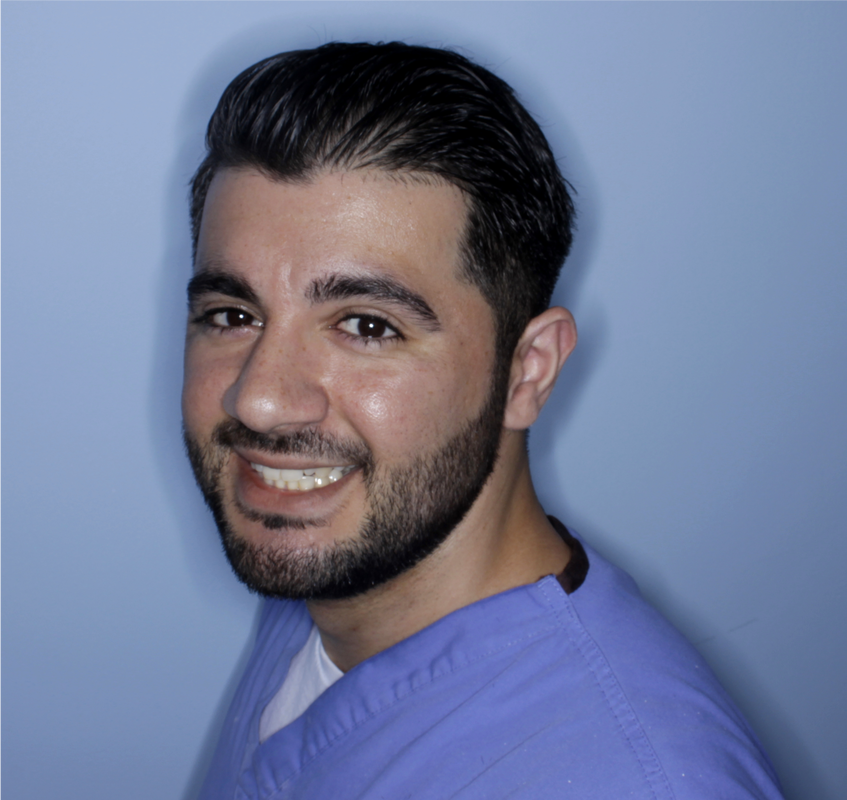
    Kash Qureshi is a Clinical Dental Technician (Denturist) in the U.K who oversees and quality controls over 3000+ fixed and removable prosthesis including implant cases from a clinical and technical aspect monthly at Bremadent Dental Laboratory & Swissedent Denture Clinic in London.
    www.swissedent.co.uk  www.bremadent.co.uk office@bremadent.co.uk

    Categories

    All
    Case Studies
    Clinical Guides
    Laboratory News
    New Product
    Newsletter
    Press
    Technical Guides

    RSS Feed

    Archives

    February 2019
    January 2019
    December 2018
    November 2018
    October 2018
    September 2018
    August 2018
    July 2018
    June 2018
    April 2018
    March 2018
    February 2018
    January 2018
    December 2017
    October 2017
    September 2017
    August 2017
    July 2017
    June 2017
    May 2017
    April 2017
    March 2017
    February 2017
    January 2017
    December 2016
    September 2016
    August 2016
    July 2016
    June 2016
    May 2016
    April 2016
    March 2016
    February 2016
    January 2016
    December 2015
    November 2015
    October 2015
    September 2015
    August 2015
    July 2015

© 2018 Bremadent Dental Laboratory is a trading style of Bremadent Premier (Bristol) LTD whose Registered Trading Address is at: 25a James Street, Walthamstow, London E17 7PJ, whose Registered Office Address is at: Leytonstone House, 3 Hanbury Drive, Leytonstone, London, E11 1GA whose Registered in England No: 06377738.
Home - Services - Contact - Policies -  Sitemap